One question I have heard many people ask often is, why does my weather app keep deleting my cities? This issue often arises after an upgrade or a breach in the iCloud synchronization. While the problem might seem pretty technical, solving it could be as easy as deleting and reinstalling the app.
It’s common thing for apps on smartphones like iPhones to malfunction. So, don’t be overly worried about the current issue with your iPhone weather app. Several other users have had a similar experience, which made them ask the reoccurring question,
Here, you’ll find more information on the causes and probable solutions to this problem. I have also explained the steps you could take to remove unwanted locations on the iOS weather app intentionally.
Read on to learn more.
Contents
My Weather Locations Keep Disappearing on my iPhone
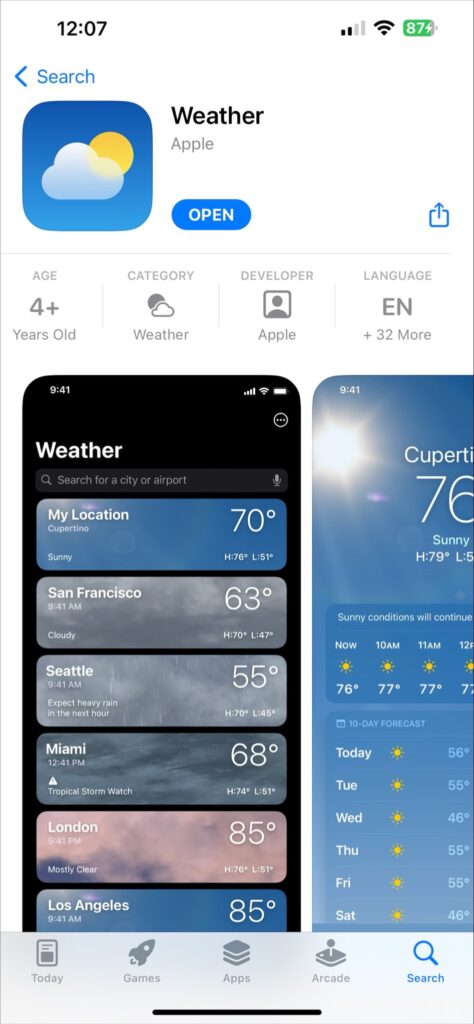
Some iPhone users shared their experiences with a malfunctioning weather app. Sometimes it’s a case of an involuntary factory reset of the app. A few of these users stated that the problem occurred after they upgraded to a higher OS version.
Others kept throwing questions like why does my weather app keep deleting my cities? How does updating your iOS affect the weather app on your device?
Let’s address these factors below before moving to their possible solutions.
Updated iOS Version
Are you wondering how updating the iOS of your device affects the weather app? Sometimes, you can get updates on your device that are not finished or well-tested. Such updates could have bugs that could affect some apps on your iPhone, and the weather app is no exception.
So, wait a while before downloading and installing new updates to allow developers to complete and test their work.
Aside from bugs in an update, the compatibility of the new version could be another aspect to consider. Most developers advise users to upgrade to an iOS version next to their current version. Meaning skipping updated versions could affect some apps on your device as well.
For instance, if your device operates on iOS 10, you shouldn’t push it up to iOS 12 in one shot.
iCloud Synchronization
The weather app on your device synchronizes its registered locations through iCloud. Losing the locations on the app could result from a breach in the syncing process. This could occur if you shared your Apple ID with someone else or if it was compromised.
Outdated iOS Version
One of the major issues with the apps on iPhones is an outdated iOS version. This is also a possible cause of a malfunctioning weather app. Check your device for available updates and install them to fix the issue.
But note that some app updates are not free from bugs. So, make sure you’re downloading the latest updates.
Wrong Location & Privacy Settings
Your Location & Privacy settings can also affect the behavior of the weather app on your iOS device. You may alter the settings of this section when using your device. In such a case, you’ll need to reset the Location & Privacy settings to tackle this problem.
Weather Background Reset is Deactivated
If the weather background reset is deactivated, the app could malfunction. This includes deleting locations registered on it. If this is the cause of the problem, you’ll need to activate the app’s background reset on your device.
Problem With the App Settings
Often, the app itself could be the main source of the problem. This could also be a result of altered settings on it. Such settings can affect the underlying function of the app. In this case, the only option is to delete and reinstall the app.
Fixing Weather Location on iPhone
The solution to a malfunctioning weather app on an iPhone is not as tedious as you might think. These tips will help you fix this issue.
Activate Weather Background Refresh
The weather app on your iPhone may misbehave if its background refresh is deactivated. In this case, you’ll need to activate it from the Settings app on your device.
Follow these steps below to activate background refresh for your weather app:
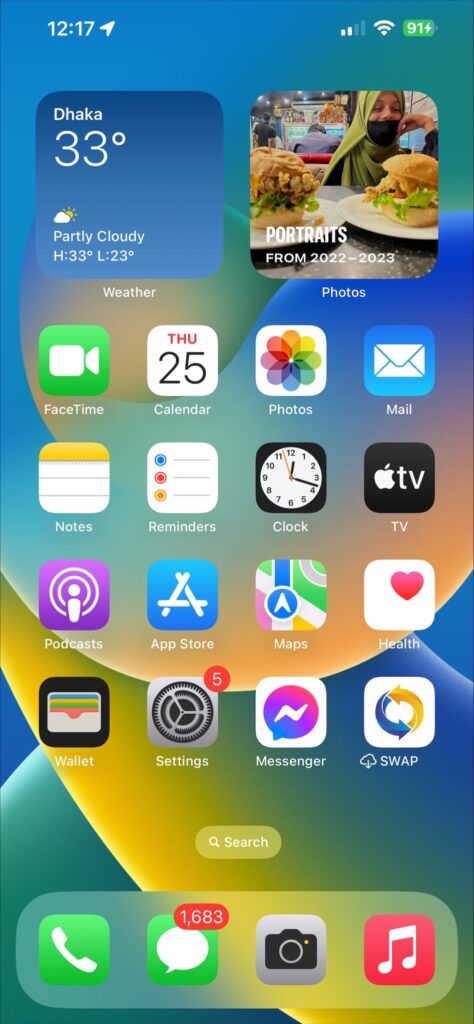
- Go to the Settings app on your iPhone.
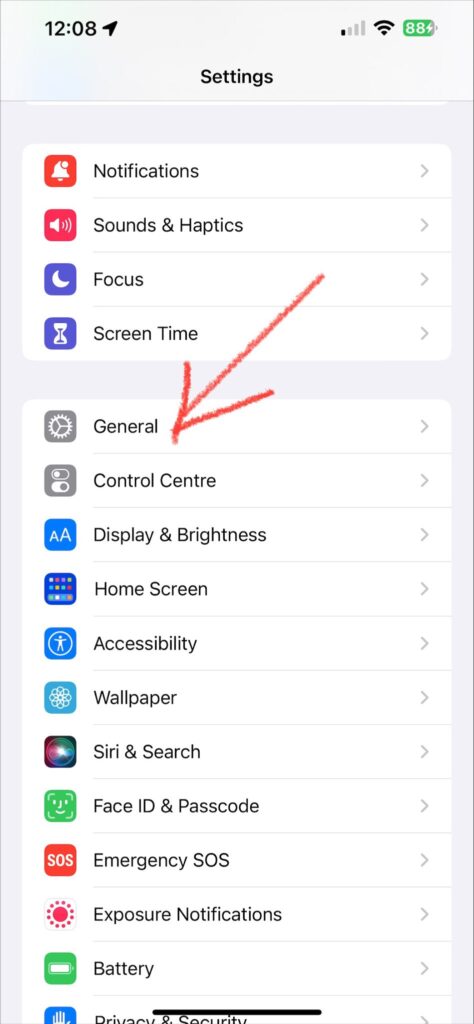
- Scroll down to the General tab and select it.
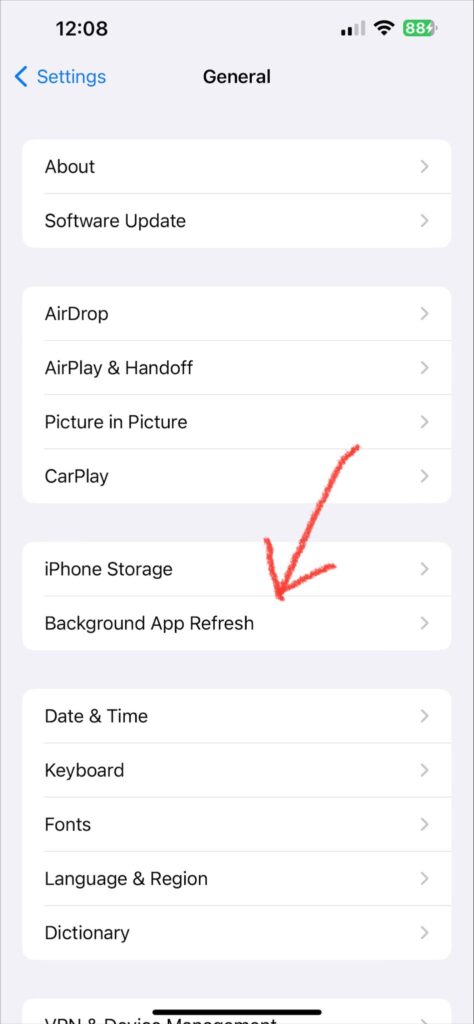
- You’ll see Background App Refresh on the list of options. Click on it.
- Enable this option if it’s not already enabled
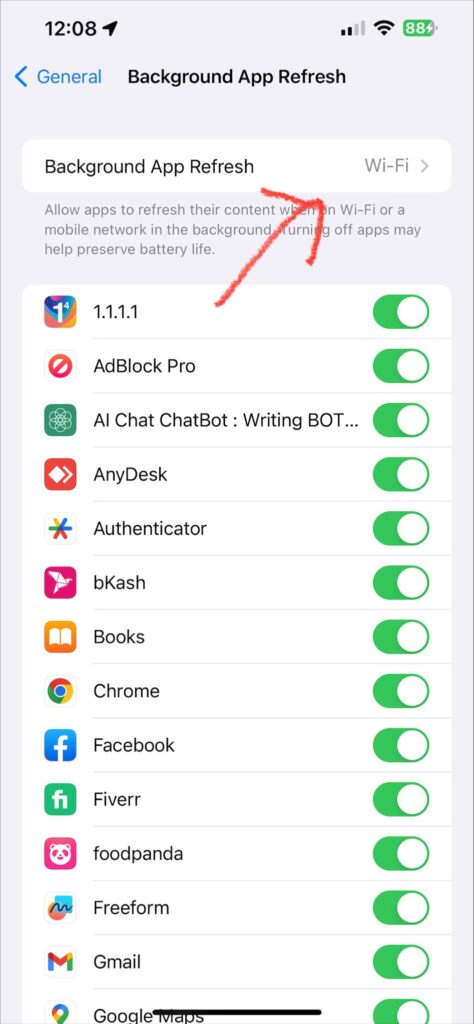
- Locate the weather app and activate it.
For a clearer illustration of these steps, check out this YouTube video.
Location & Privacy Reset
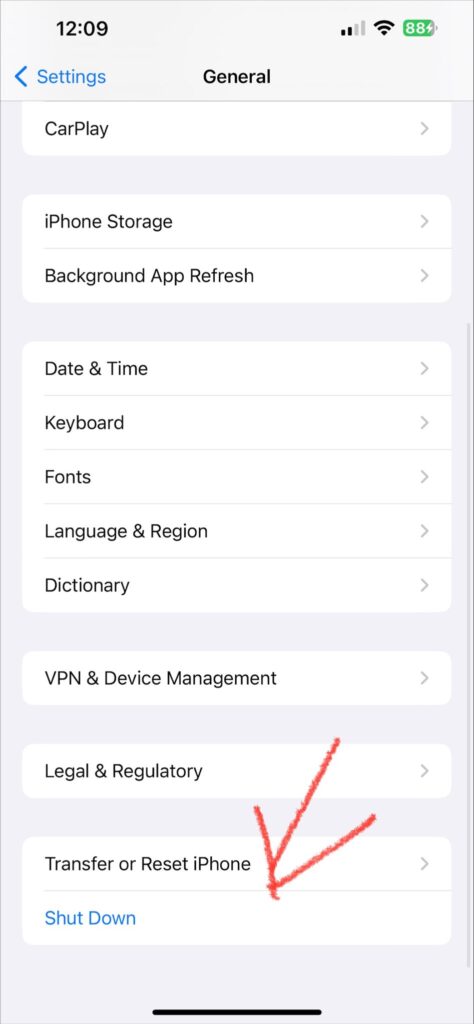
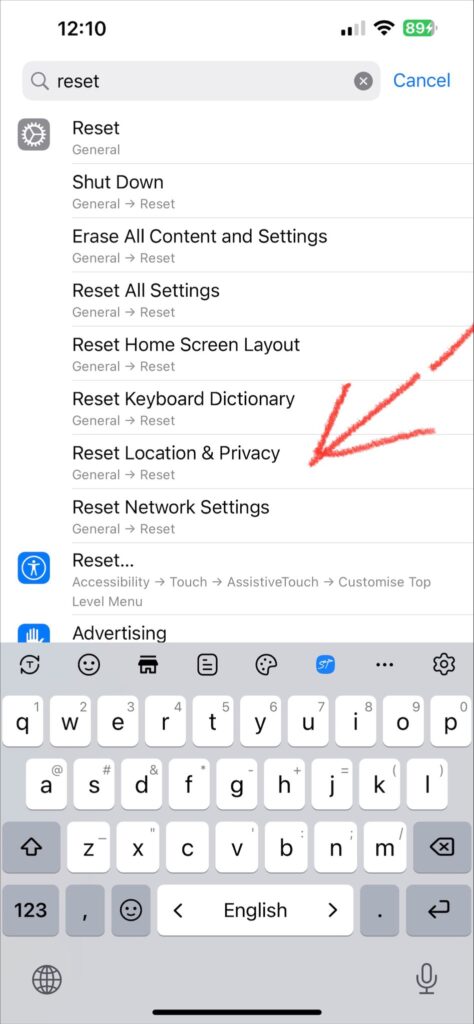
You may experience some issues with the weather on your smartphone if the Location and Privacy settings are wrong. In this case, you’ll have to reset these settings using the following steps:
- Navigate to the Settings app on your iPhone.
- Find the General tab among the options and select it.
- On the next page, click on Reset.
- Find Reset Location & Privacy on the following page and select it
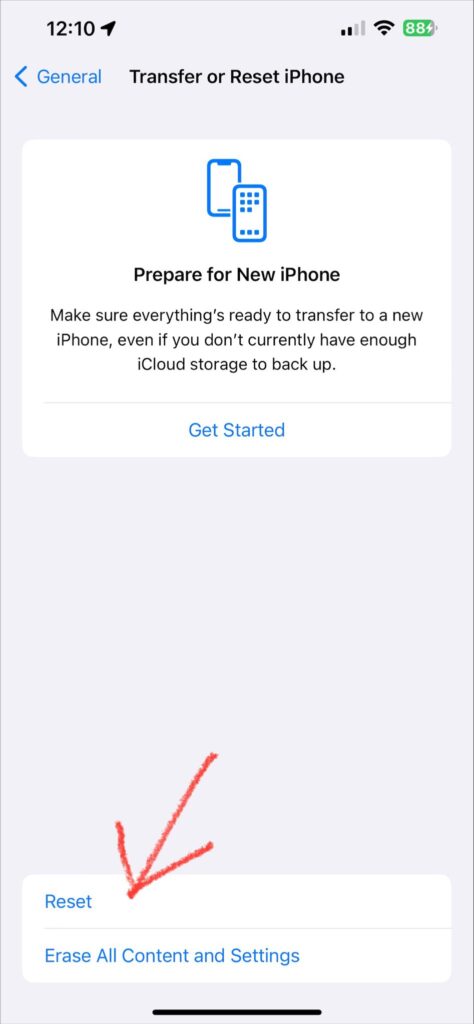
For a better understanding of these steps, click on this YouTube video.
The Need for An Update
One of the easiest ways to tackle app issues on iPhones is by updating the iOS version. Although updating the iOS version helps to solve such problems, you need to be sure it’s safe enough to use. This is particularly true if the issue started right after your last update.
Follow the simple steps below to update your current iOS version:
- Click on the Settings app on your device.
- Click on the General tab on the Settings page.
- You’ll find the Software Update tab on the next page. Select this tab.
- On the next window, click on the latest iOS version you wish to install if available.
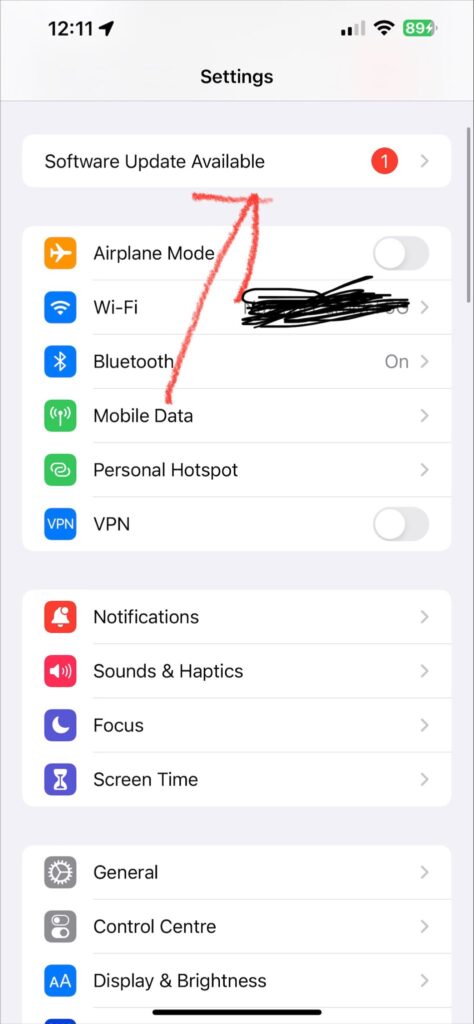
- Finally, select Download and Install to download the latest updates.
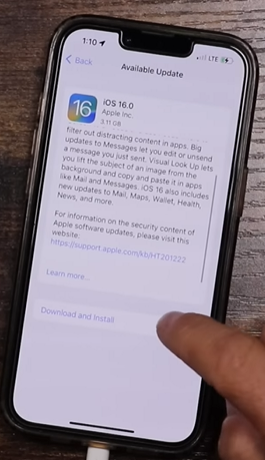
Here’s a YouTube video that illustrates the steps above.
Uninstalling and Reinstalling the App
Sometimes, you might be dealing with problems from the weather app itself. What you need to do is to uninstall and reinstall the app. This action will restore the original settings on the app, clearing the altered ones.
To uninstall the weather app from your device:
- Tap and hold the app’s icon. All the visible apps will start to wiggle.
- You’ll notice an X button on each app, including the weather app. Tap on the X button and confirm the uninstall action to delete the app from your device.
To reinstall the app, navigate to the Apple app store on your iPhone. Search for the weather app and click the Install button. The app will be downloaded in no time!
How To Remove Locations from iPhone Weather App?
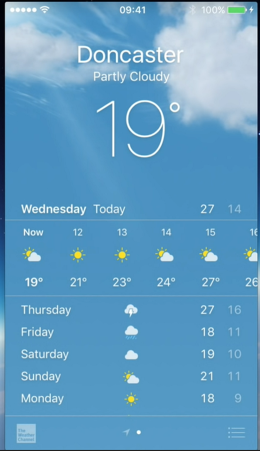
Removing cities from your iPhone weather app may be necessary if you change locations. You may also have some locations on the app that you no longer need.
But how do you go about this? The steps below explain deleting unnecessary cities and locations from your weather app.
Removing Cities from iPhone 7 Weather App
- Go to the weather app on your iPhone 7.
- Click on the three horizontal lines at the page’s bottom right. You’ll find a Weather Channel at the bottom-left of the page. This channel shows you the local weather service provider of the cities you see on the app.
- Choose the city you wish to delete and swipe left. Click the Delete button to remove the city from the app.
The steps above are actions from the default weather app on iPhone 7 Plus with iOS 10.2. The process may differ if you’re using a different type of weather app.
Chances are that you’ll find your current city among the list of cities on the app. You won’t be able to swipe left for this city, meaning you can’t delete it.
The weather app on your iPhone requires Location Services to function properly. So, you’ll need to check whether or not these services are on.
To do this, go to Settings > select Privacy > find Location Services and click on it > select Weather and pick an option to activate the location services on the weather app.
You can re-add all deleted cities or locations on the weather app whenever possible.
Adding a City to the Weather App
Adding a city in the weather app is necessary if you wish to monitor the time zones of other cities. Use the following steps to include a new city in your weather app.
- Navigate to the weather app on your iPhone and open it.
- On the weather app window, you’ll find three horizontal lines at the bottom left. Tap it.
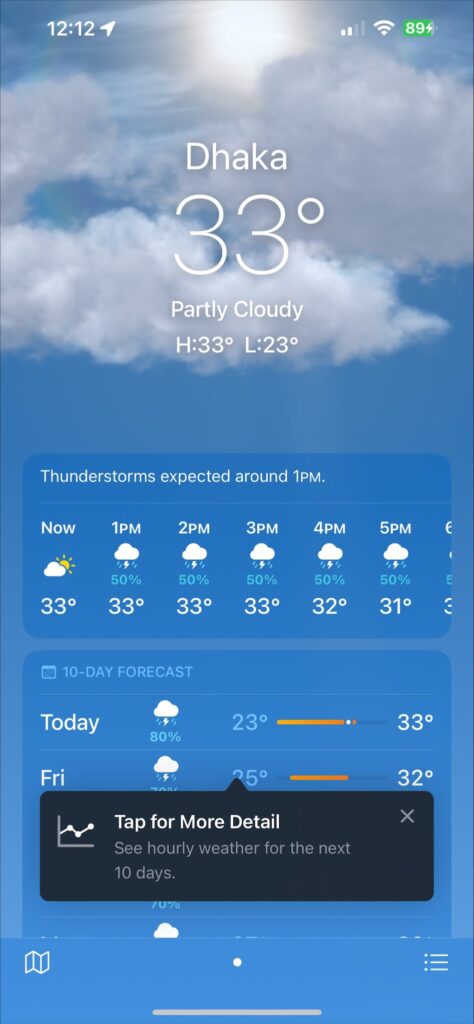
- On the next page, tap the + icon displayed in the top right corner.
- In the search space, input the name of the city you wish to add to the list. From the list of options that pops out, choose your preferred city.
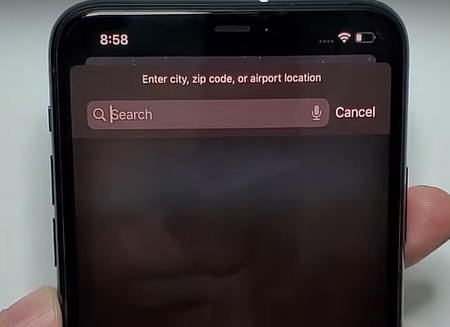
- The added city should display among the others on the weather app page, showing its current local weather report.
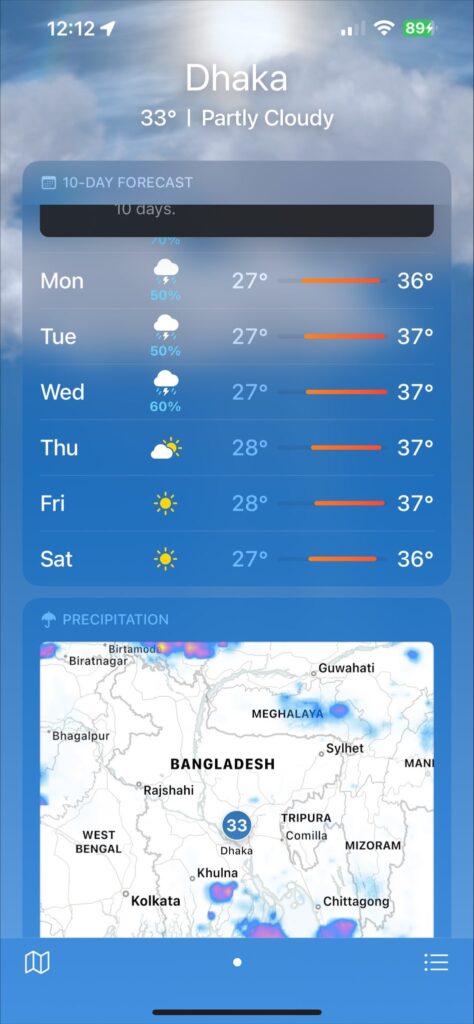
One of the available options on the weather app functions with the geography of your current location. This is responsible for the automatic adjustment to your new location each time you travel.
Conclusion
Apps on smartphones, including iOS devices, encounter certain hitches at times. Such problems can be a sudden crash or automatic factory resetting. For instance, you may also find out that the weather app on your device keeps deleting locations on it.
This is a popular problem for iPhone users that makes them ask, “why does my weather app keep deleting my cities?” Some possible causes of this issue are breached iCloud syncing, updated iOS version, outdated iOS version, wrong Location & Privacy settings, etc. Some other factors could be a problem with the app or a deactivated background reset of the app.
Whatever the cause, a simple fix is to uninstall and reinstall the weather app. You can also reset the settings of your iPhone’s Location & Privacy or update the iOS version of your device.
