Uploading your videos to YouTube is one way to share them with the world and make money at the same time. And when you have an iPhone, capturing and creating HD-quality videos is super exciting. Now, if you’re wondering how to upload video to YouTube from iPhone, it’s simple.
You’ve got the most straightforward route in Google’s official YouTube app. You just need to open the app, tap the upload icon at the bottom, and choose your video. Also use your iPhone’s Safari browser if you’re an iMovie enthusiast.
Let’s walk through these three different methods in more detail, exploring the step-by-step process for each of them.
3 Ways to Upload Videos to YouTube from Your iPhone
From your iPhone, you can upload videos to YouTube three different ways. Here, we’ll break down each of those methods with a detailed step-by-step guide.
Method 1: Upload Videos from the YouTube App
The first method we will cover is using the official YouTube app itself. After all, it’s not just for binge-watching other creators’ content but it also supports seamless video uploads. Just follow these easy steps to get started:
Step 1: Download YouTube and Sign in
Download the YouTube app from the App Store if you haven’t already. Then open it and log in by using your Google account.
Step 2: Tap the Upload Icon
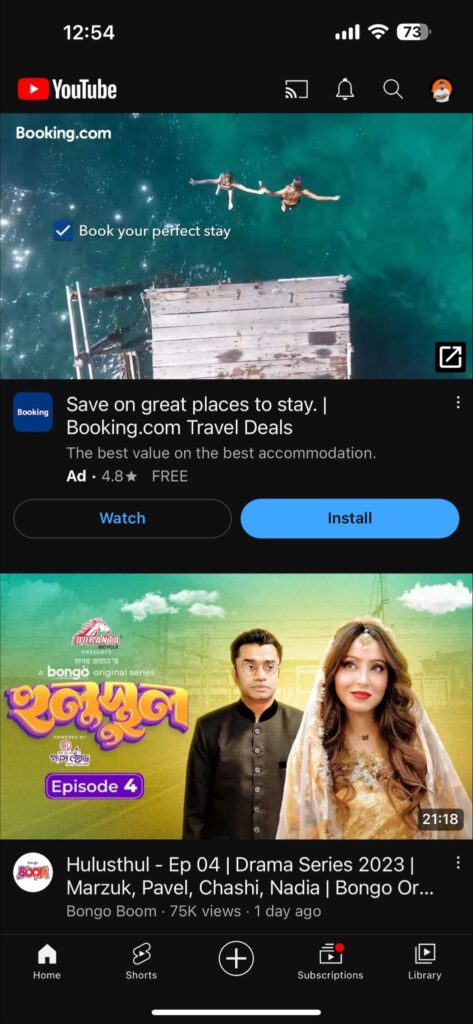
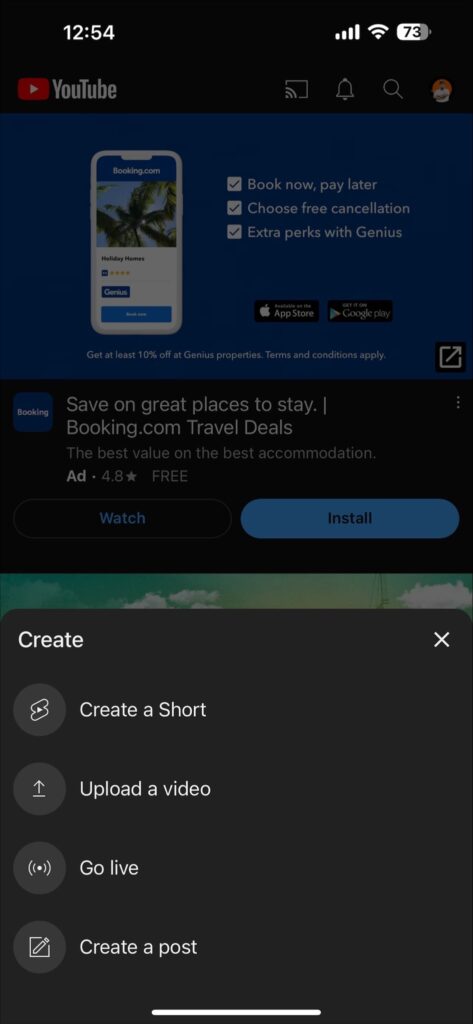
Once you’re logged in, tap the ⊕ icon located at the bottom center of your screen to bring up multiple upload options.
You can either capture a fresh Short video to upload by tapping ‘Create a Short’ or ‘Upload a Video’ to choose one from your iPhone’s camera roll.

Step 3: Adjust and Edit
After selecting your video, you can adjust your video’s trim and layout using the built-in editor within the YouTube app.

You can also add sounds from YouTube’s music library, texts, filters, and more. Once happy with your edits, just tap next from the top right corner.

Step 4: Add Your Video’s Details
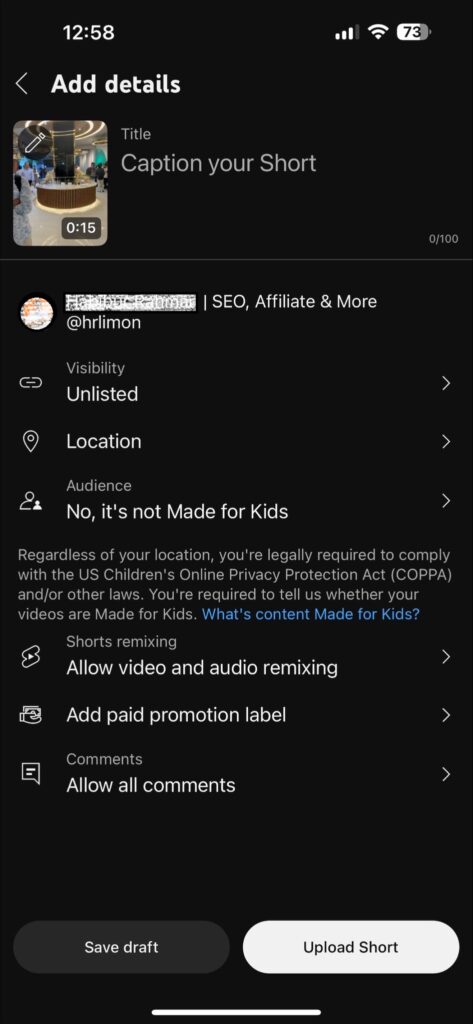
Once your video is ready you’ll be prompted to add a title, description, and tags to your video. You can type in relevant keywords in the description field to help others find your video easily.
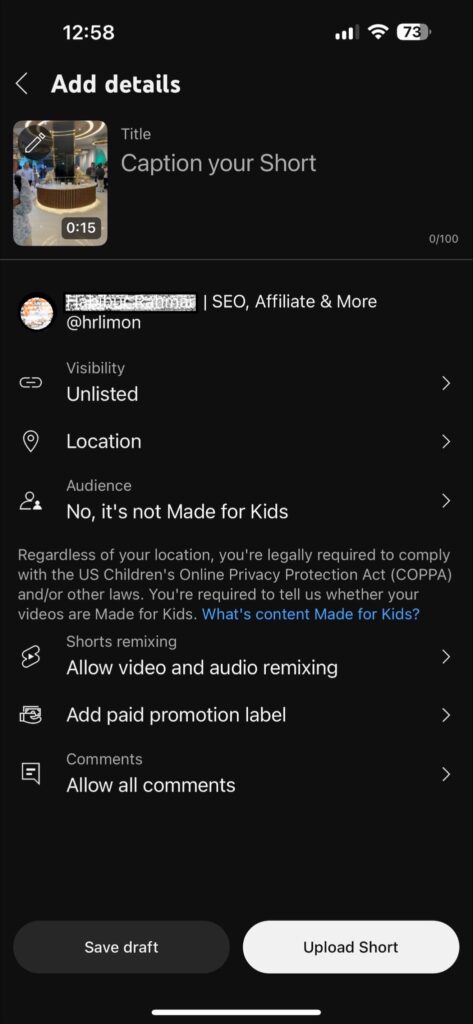
On the details page, you can also choose your video’s thumbnail by tapping the pencil icon. As a thumbnail, choose the image you think is most attractive from your video. This is optional, but it helps hook your viewers at first glance.
Step 5: Select Privacy and Comments
Select the desired privacy level for your video – you can choose between public, unlisted, or private.
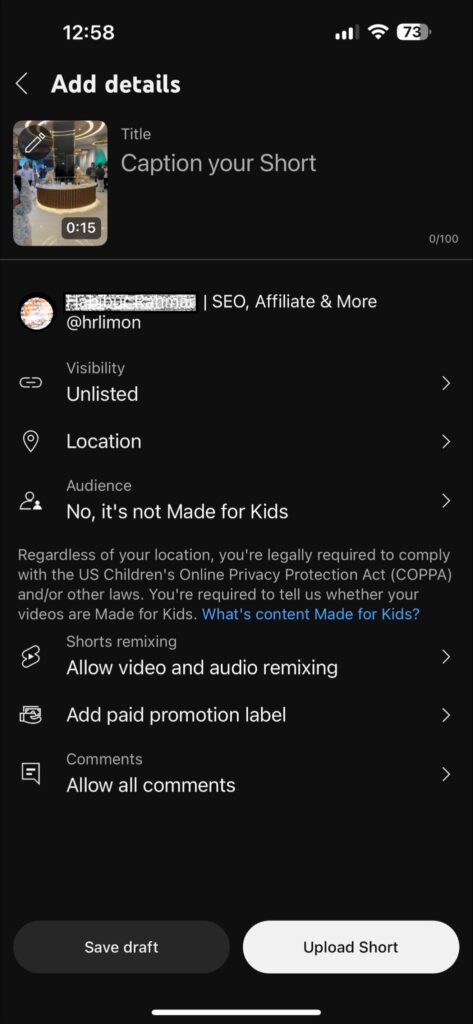
By choosing public, you allow everyone on YouTube to view your video, while unlisted only allows those with a link to do so. However, if you select private, no one can view the video except you. And if you like, you can also schedule a time to upload your video.
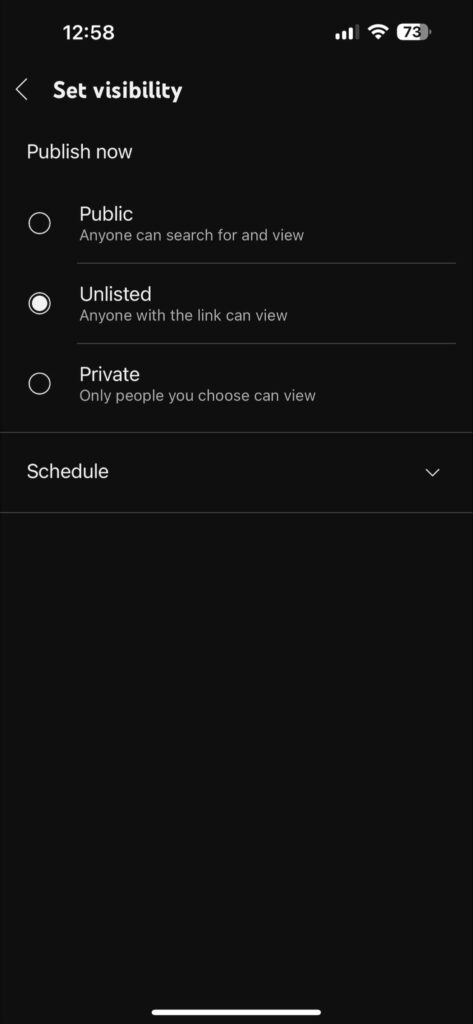
If your video is set to public, you can also decide whether to keep the comments enabled or disabled. Besides, you can select appropriate options for publishing your video, like allowing for crowdsourced subtitles, content ratings, whether it’s made for kids or not, etc.
Step 6: Finish Uploading
You can also add your video to playlists or create a new playlist using the options provided. Then, finally, tap the “Upload Video,” “Upload Short,” or “Done” button at the top right of the screen to complete the process.
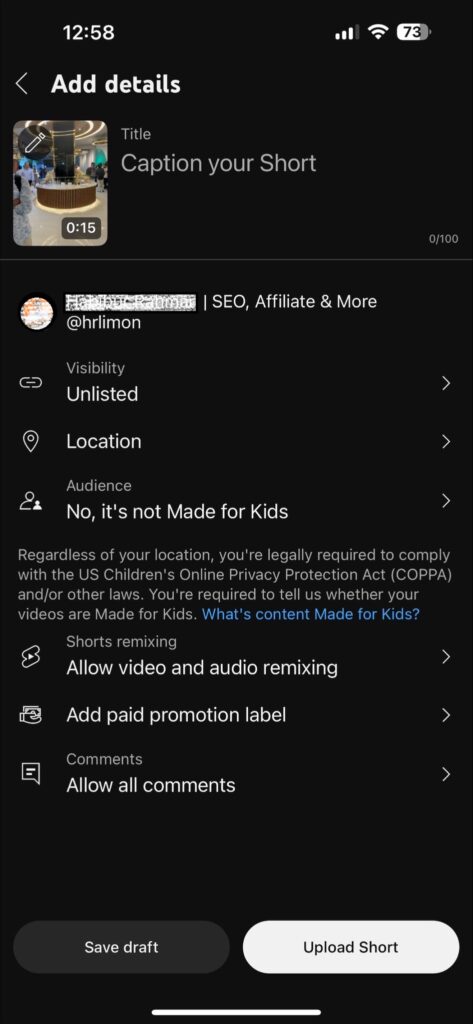
Your video will then begin uploading. And it can take a few seconds, minutes, or hours, depending on your internet speed. You can track your videos upload progress in the ‘Library’ tab.
Method 2: Upload Your Video through the Safari Browser
If you’re facing crashing issues on your YouTube app, or you don’t have access to the app for some reason, you can also upload your videos to YouTube directly through the Safari browser. Here’s the simple process to do that:
Step 1: Open Safari and Navigate to YouTube
Open the Safari browser on your iPhone and navigate to YouTube’s website (youtube.com) from the address bar. If you aren’t logged in, tap “Sign in” in the top right corner of the screen and enter your Google account credentials.
Step 2: Access the YouTube Studio
After logging in, tap on your profile picture in your screen’s top right corner and then select “YouTube Studio” from the menu. This will take you to your channel’s YouTube Studio dashboard.
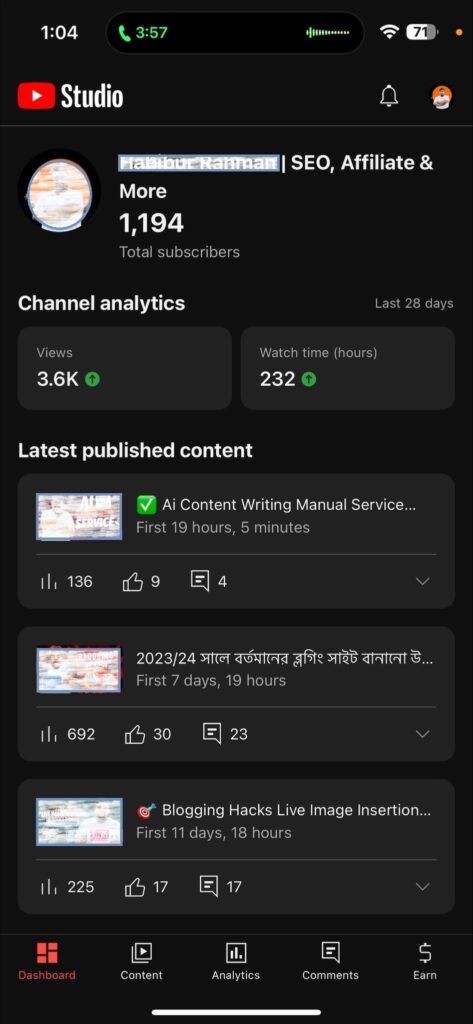
However, some older iOS devices don’t work with this, as it takes you to the YouTube app instead, especially if it’s already installed.
So, if that’s your case, you’ll need to search YouTube Studio on Google and then tap and hold the first option until the context menu appears.
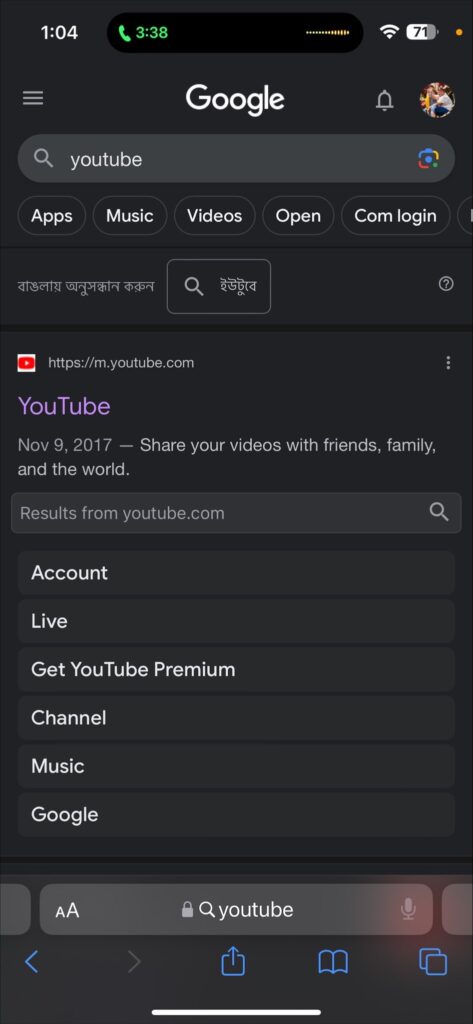
From there, you have to choose ‘Open in a new tab.’
Step 3: Choose Your Video to Upload
Once you’ve got into your YouTube Studio dashboard, tap the ‘Create’ icon (a camera with a ‘+’ symbol) in the top right corner of your screen. Then, select ‘Upload Video’ from the following pop-up option.

It will prompt you to grant Safari access to your iPhone’s photos. So, just allow access to proceed, before choosing the video you’ve intended to upload from your camera roll.
Step 4: Add Video Details and Adjust Privacy Settings
Just like when using the YouTube app, you’ll need to add your video’s details, such as title, description, and tags. Also, choose an appropriate thumbnail, select the desired privacy settings, and decide whether to enable or disable comments.
Step 5: Upload and Publish
Keep tapping ‘Next’ and finish inputting your video details. Then finally, tap “Upload” or “Publish” to start your video upload. The progress may vary based on file size and your internet connection.
Upon completion, your video will appear on your channel and viewers can access it based on your chosen privacy settings.
Method 3: Upload Your Video via iMovie
Uploading directly to YouTube from iMovie can be an excellent time-saver for iPhone and iPad users who often use the app to create and edit videos. So, if you have iMovie installed on your iPhone already, simply follow the steps below.
Step 1: Open iMovie and Select Your Project
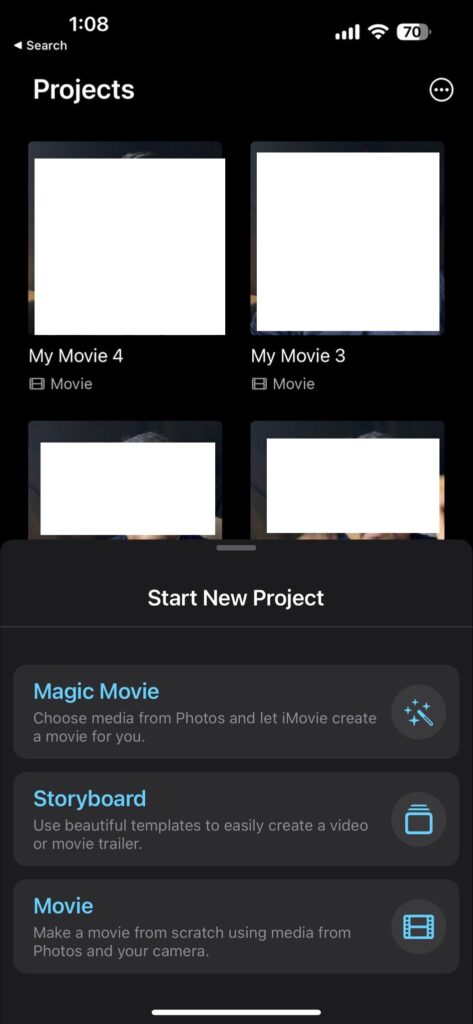
Open the iMovie app on your iPhone and select the project containing the video you want to upload to YouTube. If you haven’t created a project yet, you can start a new one and import the video you wish to edit and upload.
Step 2: Edit Your Video
Edit your video as desired, using iMovie’s powerful editing tools. Edit as you like, from cutting and trimming to adding transitions, applying effects and filters, and much more.
Step 3: Export Your Video
Once you’re satisfied with your video editing, tap the “Done” button in the top left corner of the screen. Now, your edited video will appear in the project list.
Step 4: Choose YouTube as Your Sharing Destination
Select your project and then tap the “Share” icon (a square with an upward arrow) at the bottom center of your screen.
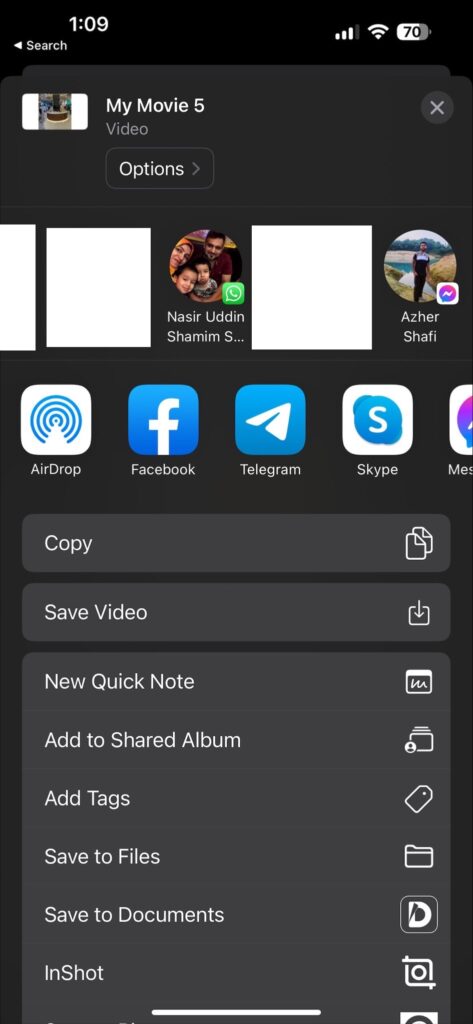
You’ll be presented with several sharing options. Find and tap the YouTube icon from the available sharing options. If it’s not in the main view, you might have to swipe left or tap “More” to find it.
Step 5: Adjust Video Settings
If you’re not already logged in to your YouTube account within iMovie, you’ll be prompted to do so. Enter your Google account credentials to sign in.
Afterward, input your video’s details, including title, tags, and description. Select the desired privacy settings for your video and choose a suitable thumbnail.
Step 6: Upload Your Video
Finally, tap the “Upload” or “Done” button to initiate the video upload process. Your video will now start uploading. And once completed, your video will be available on your YouTube channel.
Frequently Asked Questions
Do you have further queries regarding uploading videos to YouTube from your iPhone? Check out these answers to some questions people ask frequently over the internet, which might help.
Can I use the YouTube Studio app to upload videos to YouTube on my iPhone?
Unfortunately, no. You can’t upload videos from the YouTube Studio app. Although the app provides many features to manage and monitor your channel, it has no direct option to upload videos. You’ll have to use either the main YouTube app, the Safari browser, or the iMovie app.
Is there a size or duration limit for uploading videos on YouTube?
Yes, there are certain limits on videos you upload to YouTube. The default video length restriction is 15 minutes. However, you can go beyond this limit after successfully verifying your account. As for size, YouTube allows videos up to 256GB, around 12 hours in terms of length. [Source
]
Can I make changes to video descriptions and other details after uploading it from my iPhone?
Yes, you can edit the video description, title, tags, privacy settings, and other features after uploading. To do this, you have to navigate to the YouTube Studio dashboard from the Safari browser and find the video from the content tab. Remember to save your edits when done.
Why uploading videos to YouTube from Photos doesn’t work anymore?
Earlier iOSs used to allow users to upload videos to YouTube directly from the photos app. However, with newer updates, this feature has been removed for some unknown reason. Now, you only have the three options we’ve listed above.
Conclusion
So, there you have it – three ways to upload YouTube videos from your iPhone without hassle. Each method has its own unique advantages, so choose the one that goes best with your needs and preferences.
Now, before you go and start uploading, remember that you must keep your video title within 100 characters and the description within 5,000 characters. Besides, staying within YouTube’s Community Guidelines and following their copyright and usage policies are also essential.
And now that you know all this, it’s up to you to share your good work with the world and make some cash out of your creativity.
